PN001(SD) JMC Backsaver Handle with Special Cleaner, Zero Contamination Tube, and Concentric Sampling Tube
Product Description
|
Soil Dissipation Studies require soil samples that avoid cross contamination between strata. This means preventing surface debris from contaminating a sample during extraction or , when sampling repeatedly in the same hole, preventing debris from falling down a hole prior to reentering it for a deeper sample. The equipment presented here successfully eliminates cross contamination from surface debris.
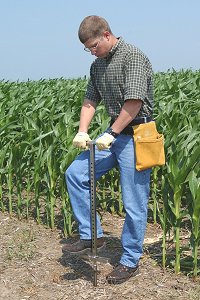
The JMC Backsaver HandleThe JMC Backsaver Handle works with both sampling tubes described below. It prevents serious injury to your back, hands, or wrists. Fitted with an 18 inch JMC Sampling Tube, this handle allows you to gather soil samples down to 46 inches. No bending over - handgrip stays at waist level throughout the sampling procedure.
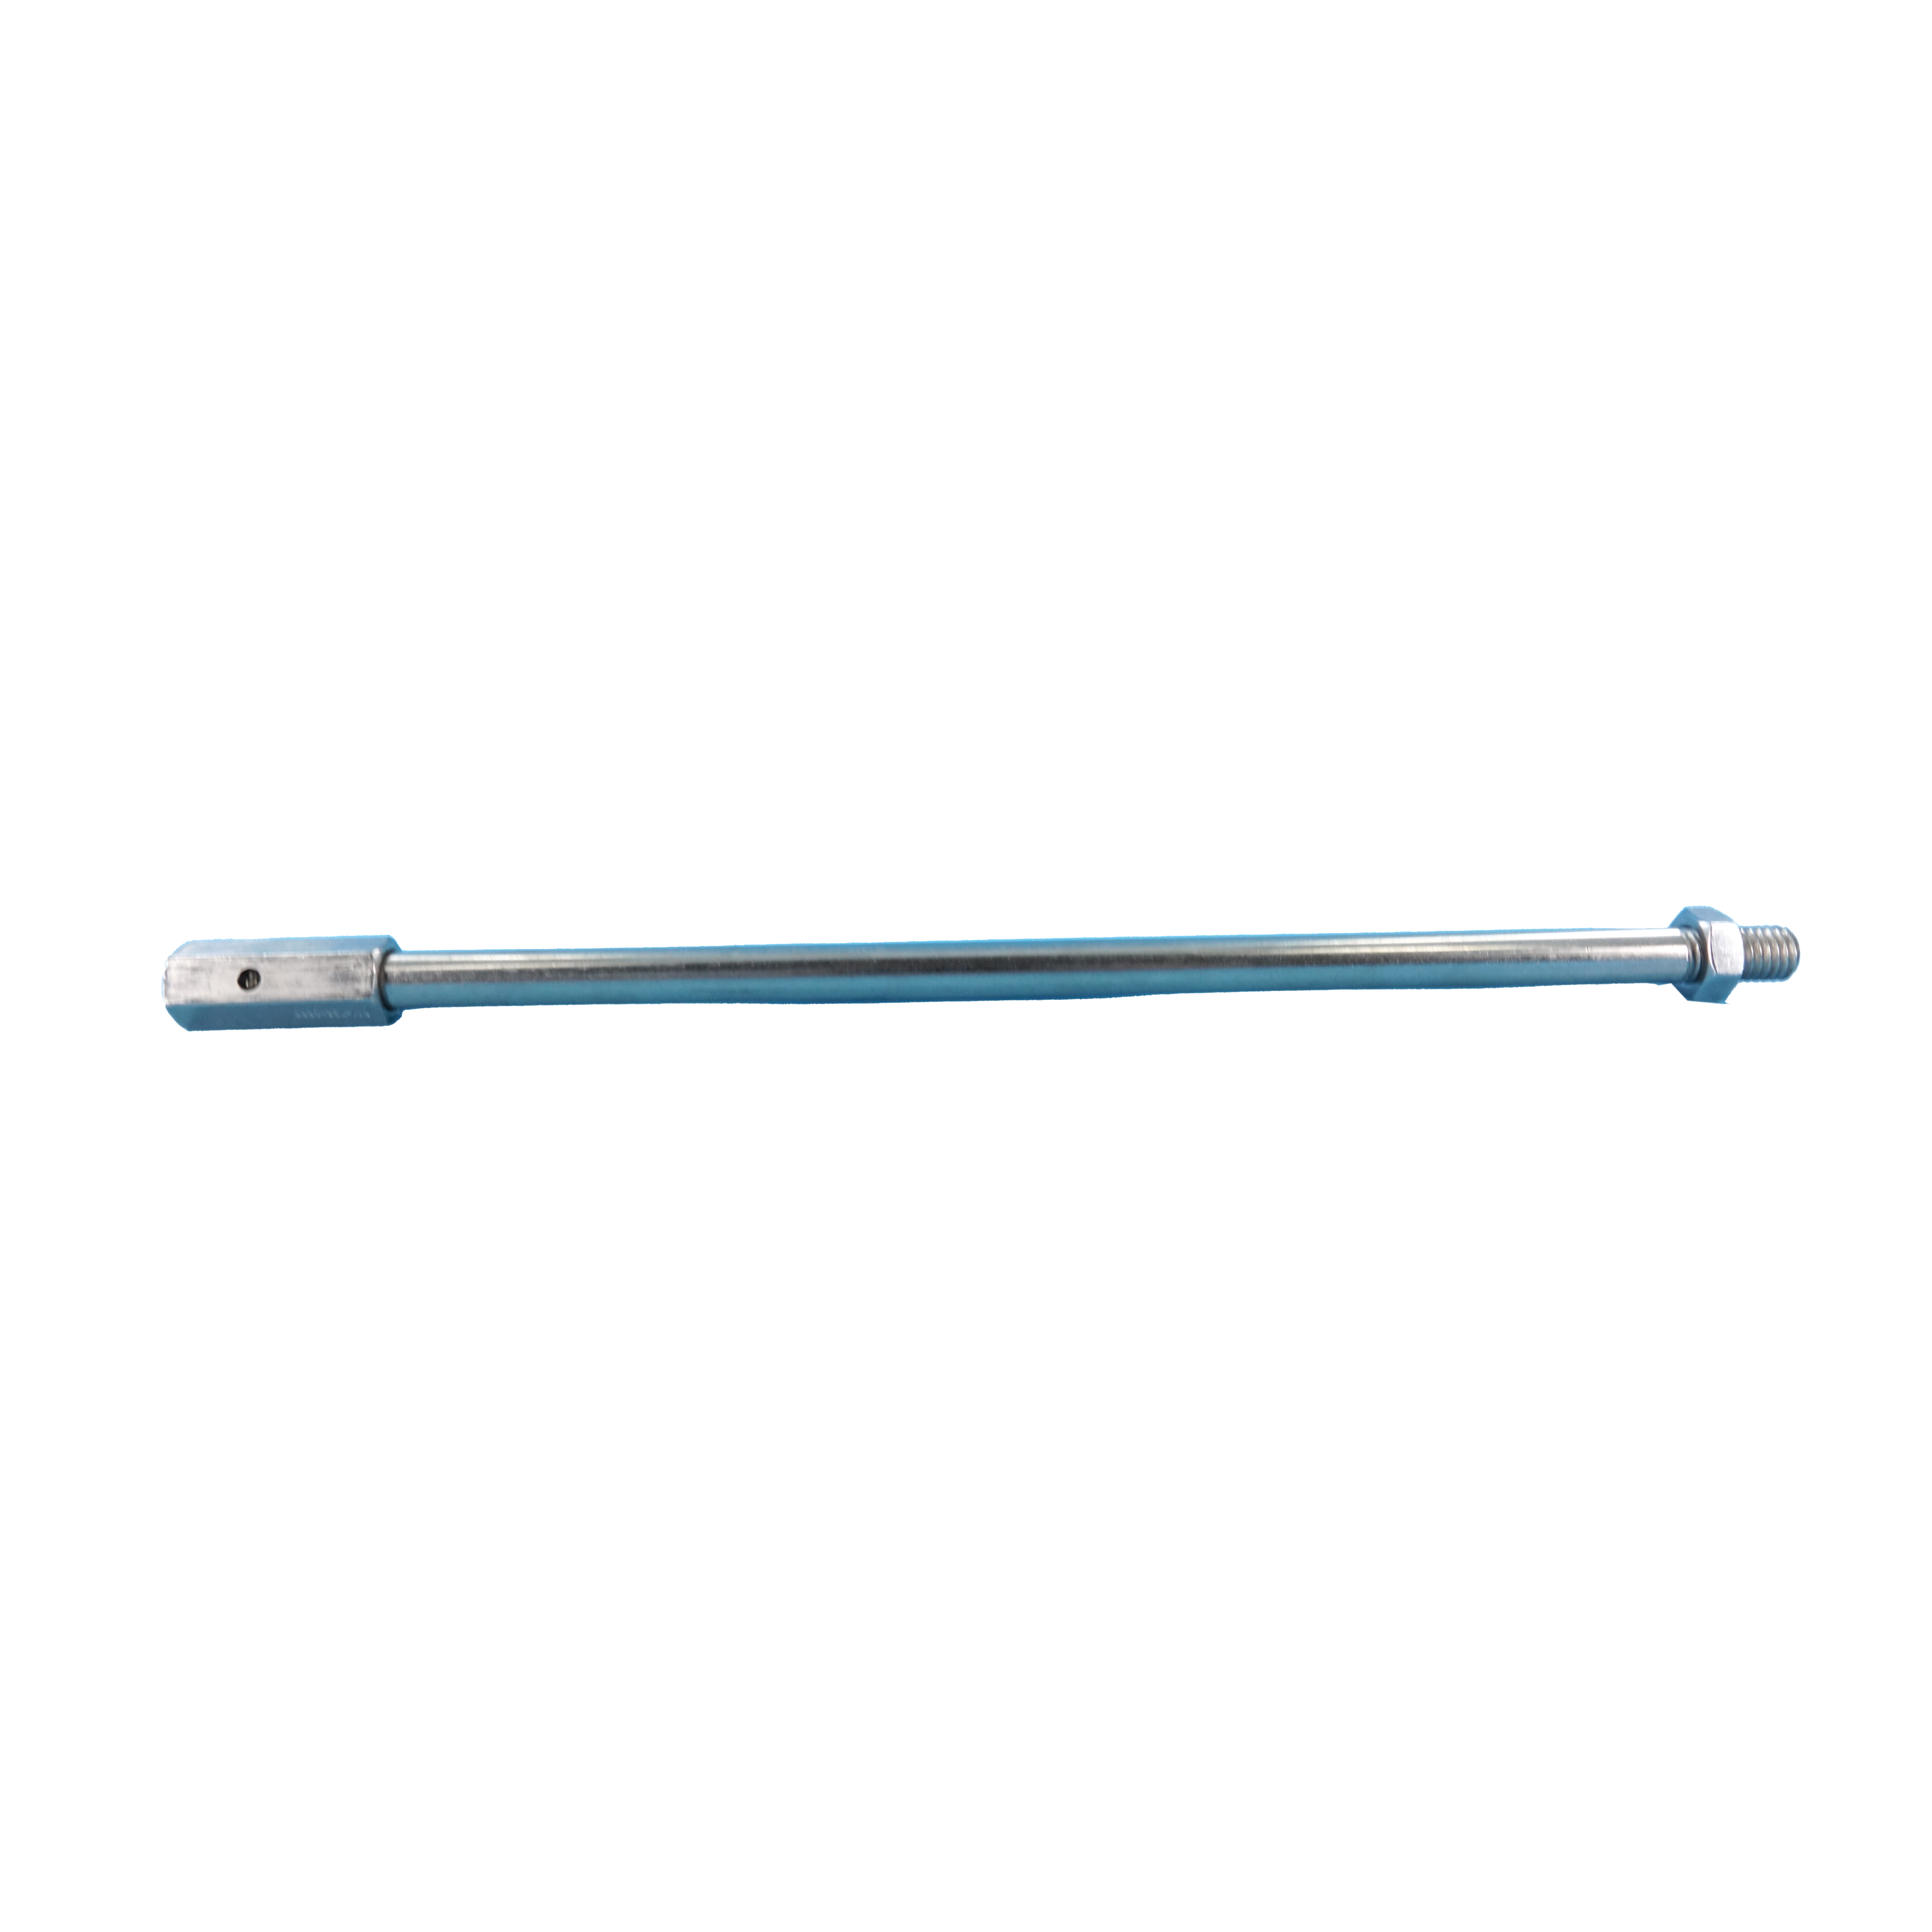
How the JMC Backsaver Handle WorksSimply step down on the footpedal to plant your sampling tube. Then, grab the handgrip (now near waist level) and use your legs to lift the sampler out of the ground. Clean your tube quickly by first removing the plastic liner containing your sample. Then unplug the end of the tube with the JMC Special Cleaner held in a leather pouch on your belt. Finally, insert a clean liner into the sampling tube and you are ready to go again. Insert the tube into the same hole in the ground. Step lightly on the foot pedal to release the sliding rod inside the handle. Let 8 to 12 inches of the rod slide out of the handle. Then step down hard on the foot pedal to lock the rod and drive the sampling tube further into the ground. When the tube is full (You can track depth by looking at the holes in the side of the Backsaver), lift the tube from the ground as you did before. When the handgrip gets too high for comfort, step lightly on the foot pedal and slide some of the rod back into the handle. Continue lifting and adjusting the handgrip as necessary until the sampling tube reaches the surface. Sampling Procedure for Soil Dissipation Studies
Step One: The JMC
| ||||||
|
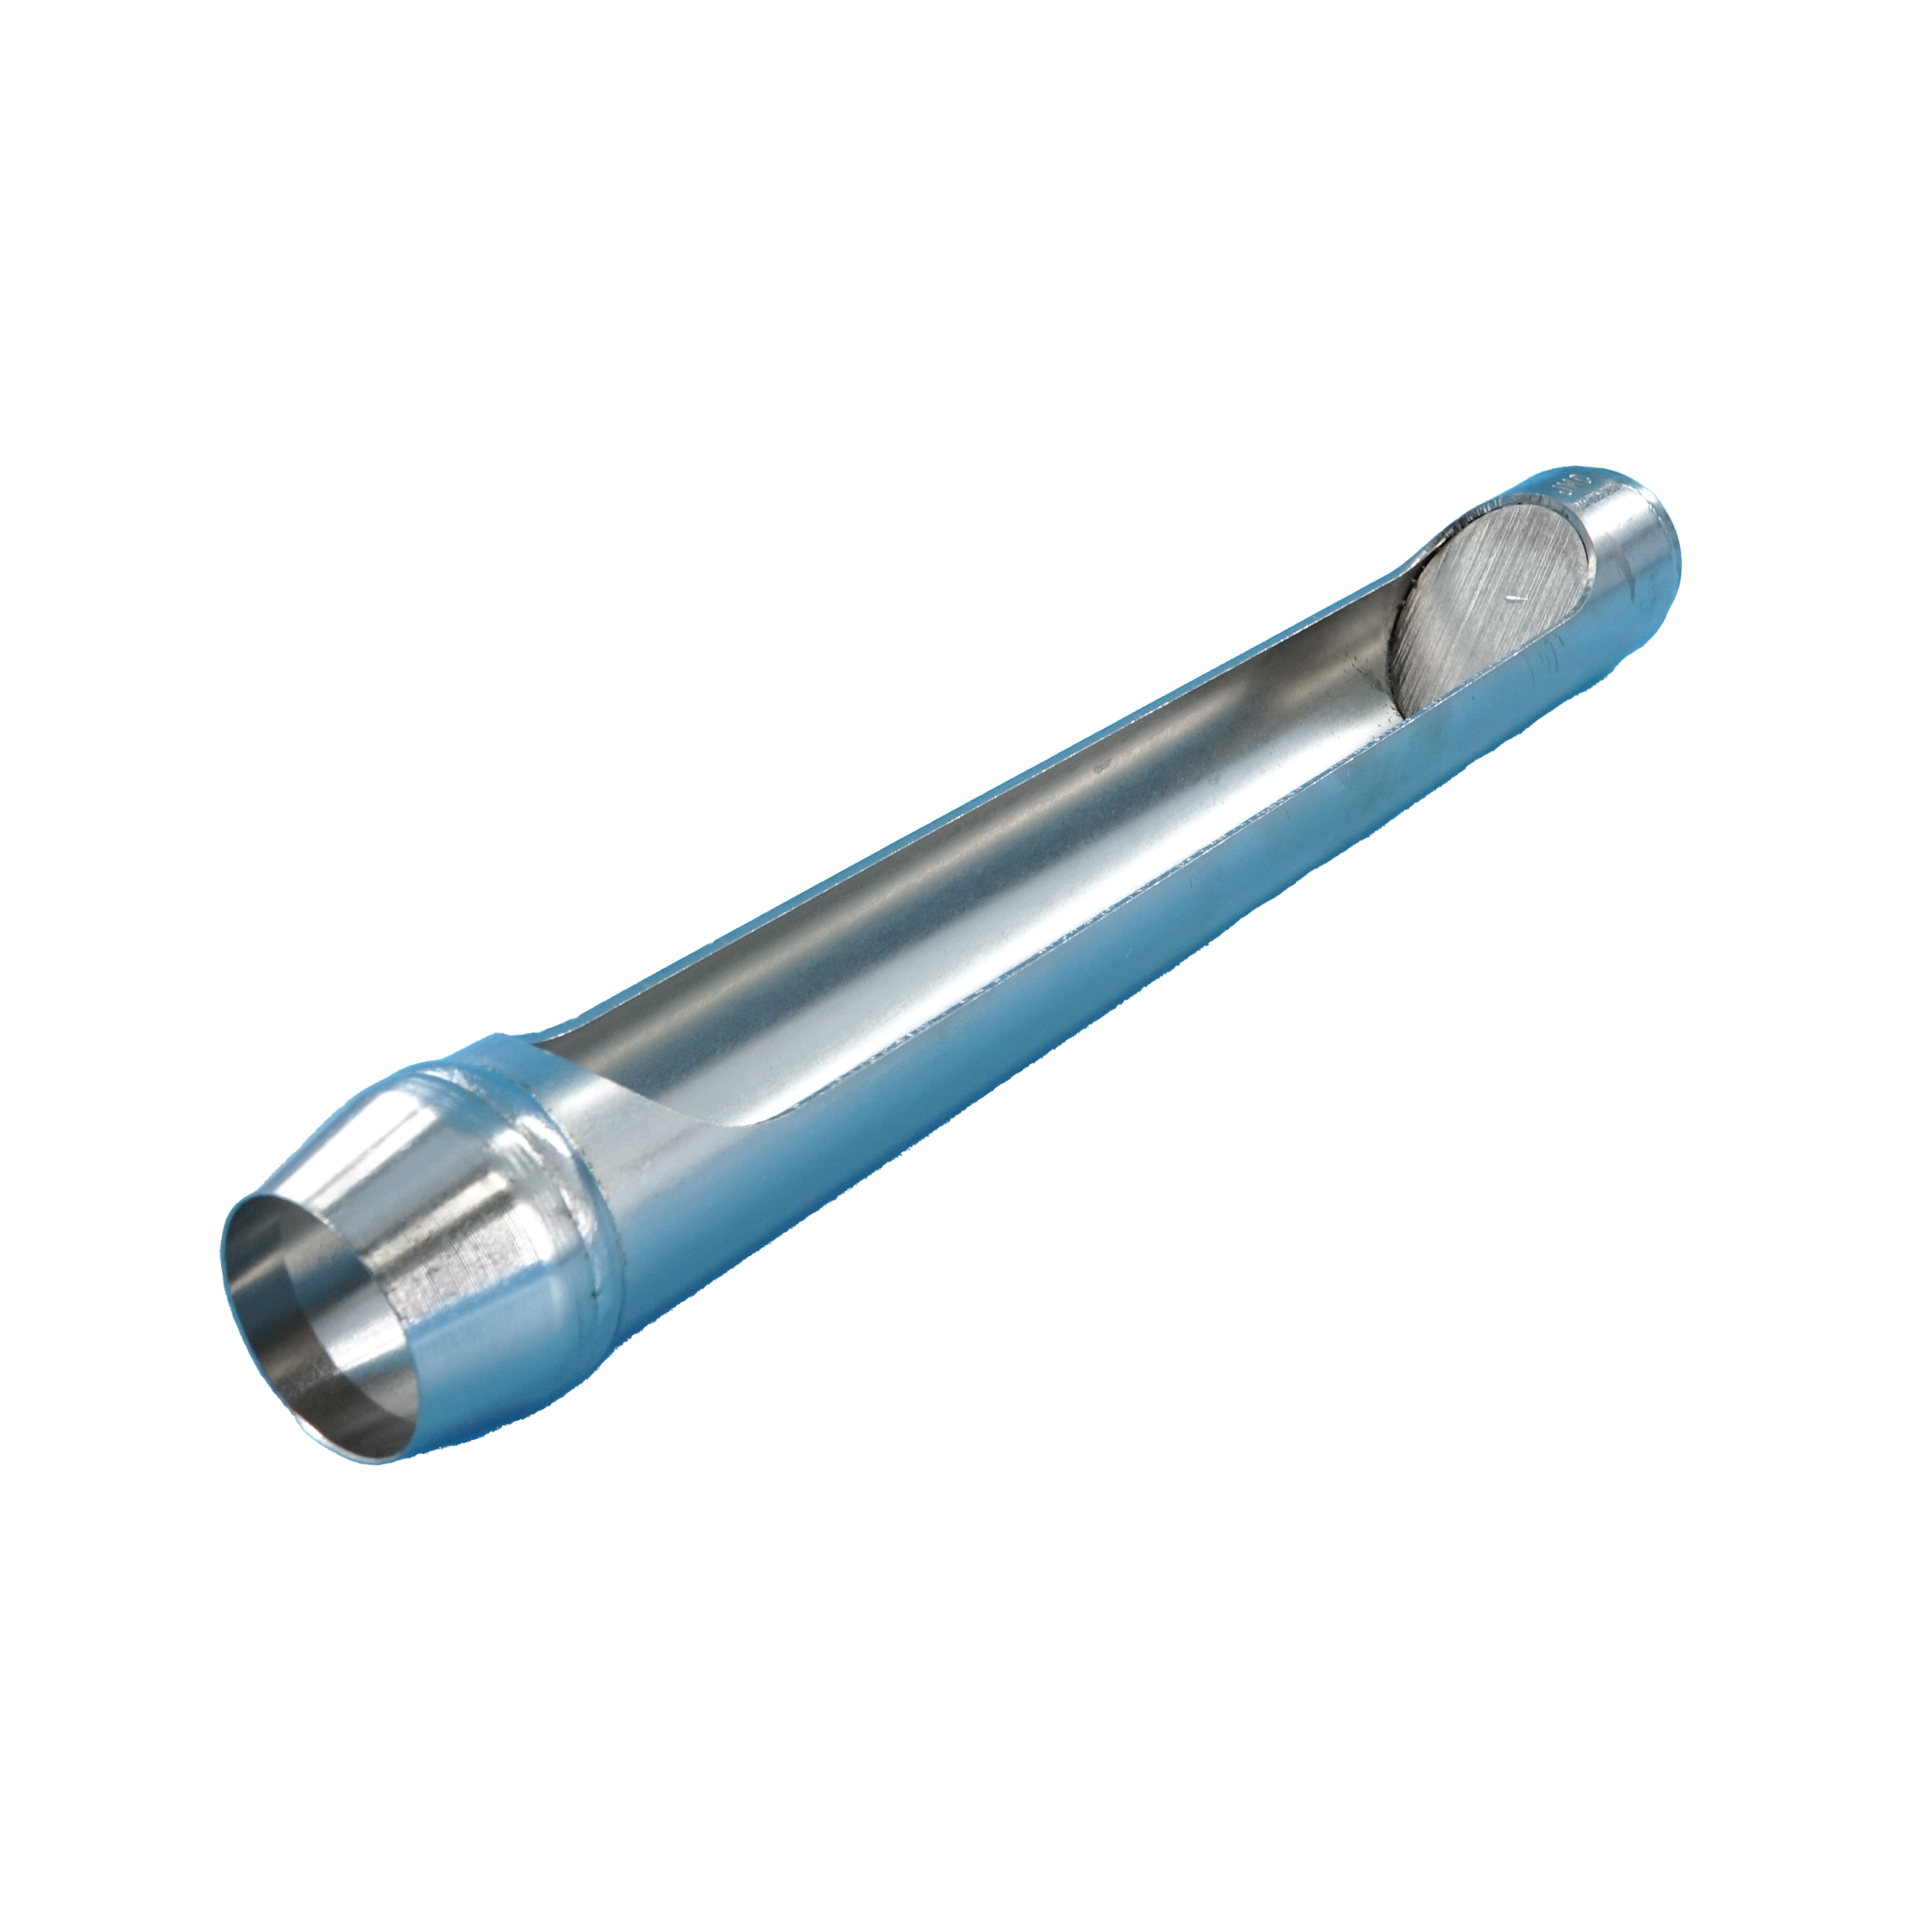
Our JMC Concentric Sampling Tube, attached to the JMC Backsaver Handle, captures 2-inch diameter by 6-inch long samples in clear, PETG copolyester plastic liners from the first 6 inches of topsoil. A metal casing remains in the ground as the sampling tube is withdrawn. The top of the casing stands an inch above the surrounding soil making it difficult to inadvertently kick debris into the hole. As an added precaution, any loose soil can be vacuumed out of the cavity prior to sampling. Smaller diameter sampling tubes can then be pushed into the soil at the bottom of the 2 by 6 inch cavity without encountering debris from the first 6 inches of soil. |
|
|
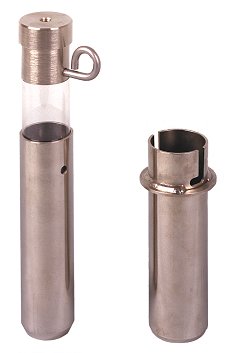
Pictured above: The JMC Concentric Sampling Tube with Casing. |
Step Two: The JMC Zero Contamination Sampling Tube
The JMC Backsaver Handle fitted with a JMC Zero Contamination Tube plunges into the bottom of the cavity created in step one. The sample obtained will be free of any debris from the top 6 inches now being held back by the Concentric Tube’s metal casing.
|
Our JMC Zero Contamination Tube gathers undisturbed soil samples encased in removeable PETG Copolyester liners.
Zero Contamination Tube Includes:
|
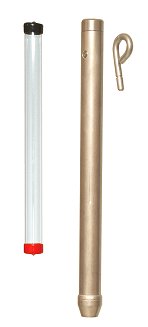
Pictured above: The JMC Zero Contamination Sampling Tube with Liner and Caps. |
Step Three: Retrieving the Metal Casing
When you finish sampling a location, you can retrieve the Concentric Sampling Tube’s metal casing. Reinsert the Concentric Sampling tube into the casing and reattach it via the bayonet mounting. Then pull the tube out of the ground. The casing will come along for the ride. Decontaminate equipment as necessary and you are done.
Related
Recommended
Reviews
Send
-
PN006 JMC 12 inch Wet Sampling Tube
US$101.71 -
PN007 JMC 12 inch Dry Sampling Tube
US$101.71 -
PN008 JMC 15 inch Wet Sampling Tube
US$105.04 -
PN009 JMC 15 inch Dry Sampling Tube
US$105.04 -
PN010 JMC 18 inch Wet Sampling Tube
US$108.63 -
PN011 JMC 18 inch Dry Sampling Tube
US$108.63 -
PN004 JMC 26 inch Rod Extension
US$70.97 -
PN005 JMC 13 inch Rod Extension
US$62.67
Product Rating
Customer Reviews
Danyal Kasapligil
Login to post a review
Send to Friend
Categories
Copyright © 2007-2025 JMC Soil Samplers

